Escape the Lab - Technical

Blueprint Overview

This page is the more technical side to see the work behind the scenes and how it functions, how it is sorted and what particular scripting is at work behind the scenes. *Each section is a gallery, click on the image and scroll through for a better view.*

I don’t make things look good in the front end but hope to straighten the spaghetti and leave it in easy to follow, bite size chunks.
My implementations to this project consist of the below but images of all aren’t provided due to the volume:  

Contributions

Characters section:
1. Character Base
2. Character Interfaces
3. Game Modes
4. Survivor
5. Ghost
6. Spawn Locations

Animation Implementation section:
7. Character Animations

Weapons and Abilities section:
8. Weapons
9. Abilities
10. Ammo Station

User Interface section:
11. Widgets

Puzzle Mechanics section:
12. Puzzle

Worthy Mentions:
13. Pickups
14. Enemies and Spawning
15. Levels and Partitioning
16. Sound Implementation

Characters

Please be warned! This section Covers the Character_Base (Parent Class), Survivor Character and Ghost Character. All Developed and Implemented by myself as the lead technical designer and implementor on the team.

Base Character Blueprint: Covers all basic movement interactions, sounds, states and all behaviour of the character which all created characters would need.

Survivor Character and Ghost Character Blueprints integrate the personalities and Unique mechanics of either character. Such as a weapon Arsenal for the survivor to fight off the undead. Alternatively the Ghost who has abilities to best support the survivor. Both have their own unique interactions which mean both have to work together in order to escape.

The spotlight image here is one of my better examples of a super clean and furnished piece of script which is super easy to read and following, transitioning into broken down and logical functions of each action.

Spotlight - Character Weapon Swapping

Character Base (Parent Class)

Survivor Character

Ghost Character

Animation Implementation

Due to the technical limitations of the group and capabilities, the animations and character rigging was sourced by myself from a free to use tool called mixamo. This is where all the animations were sourced from along with the place holder rigged player character.

Mixamo here was a no brainer with the limited time frame, lack of animating abilities within the team, ease of use, along with the ability to rig our own character in the software. This meant that finishing the character in week 5/6 from another team member it was still possible to rig and implement the character onto the animation work which had been completed in parallel with the character. Only small adjustments for the ghost characters skeletal rig needed to be made due to the missing legs, which threw some errors without adjustment.

The choice for this spotlight piece is due to the amount of animations squeeze into one blend space, really taking advantage of the tool then creating 2-3 blend spaces which as can be seen, would have been unnecessary.

Spotlight - Rifle Walk Animation Blend Space

Animation implementation

Weapons and Abilities

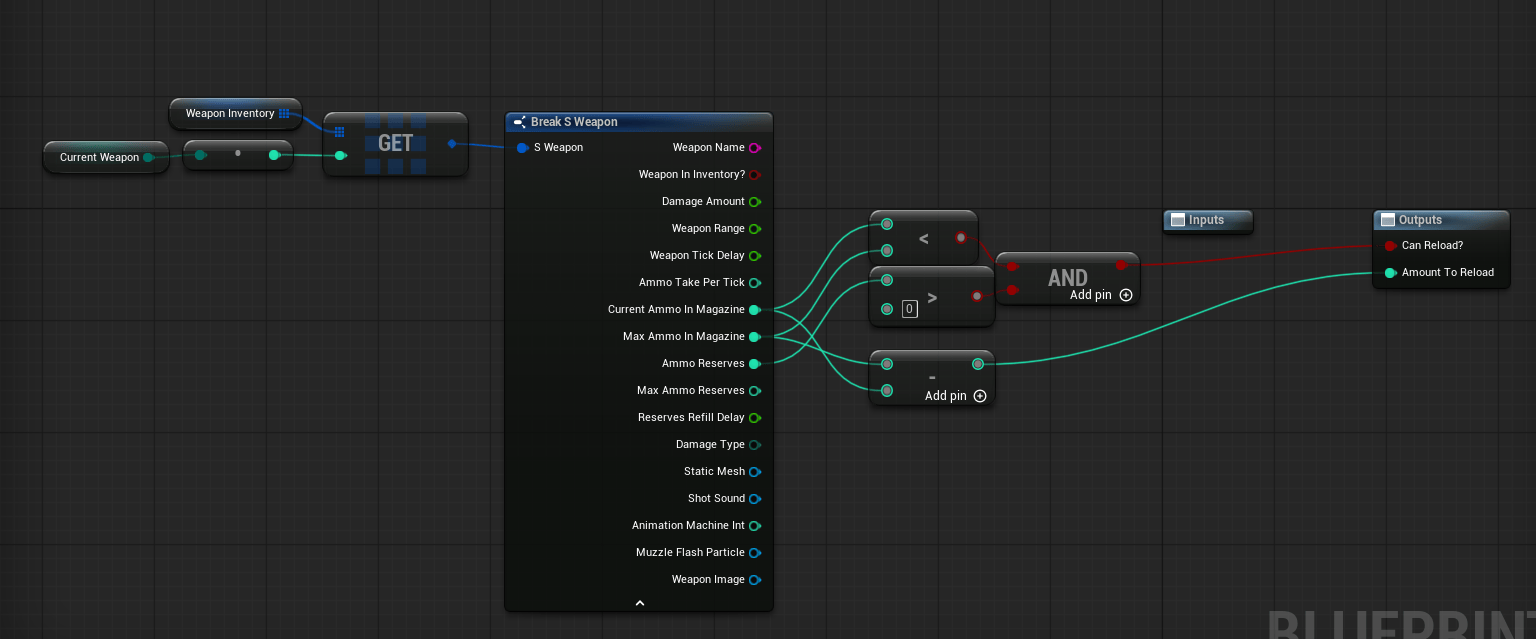
The weapon creation within this project was the most fun part for me to personally create. From my previous knowledge of FPS games and weapons I developed the system to feel at home of anyone who’s familiar with first person action games.

The weapons have 4 different types which the player can use of different weapon types and functions for each. each weapon also contributes to the puzzle mechanics – such as a flamethrower to burn through wood.

I am most happy with the weapon data struct and format as this allowed the creation of the data table and balancing of the weapons for designers to adjust and balance as well as adding more weapons easily into this system in future.

Spotlight - Weapon Data Struct

Weapons

Abilities

User Interface

Creation and implementation of the blueprint and layout is something that both compliments the characters I scripted along side the weapons and abilities.

The primary use of the HUD is communication of data from the game to the player for immediate live feedback leaving the mystery of the game to be the puzzle solving and not what the player has equipped.

Within the HUD I think the weapon view came out the best in format and accurate usability mostly with the most work and data presented on the feature itself. I think the same implementation could be used in other games with a fitting re texture.

(Textures not created by myself, although I lead the concept artists with the creation)

Spotlight - Weapon UI Implementation

Heads up Display

Puzzle Mechanics

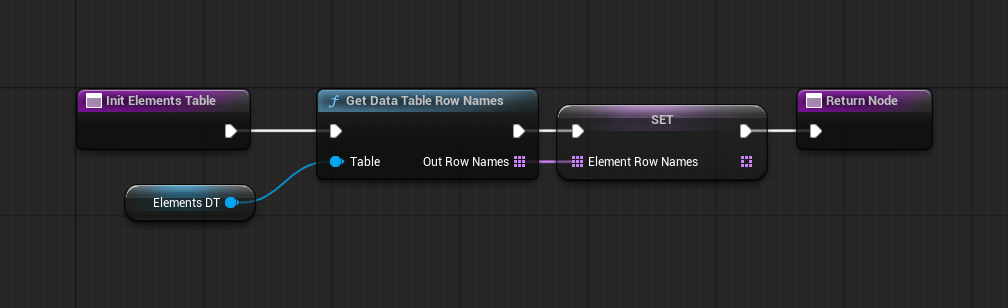
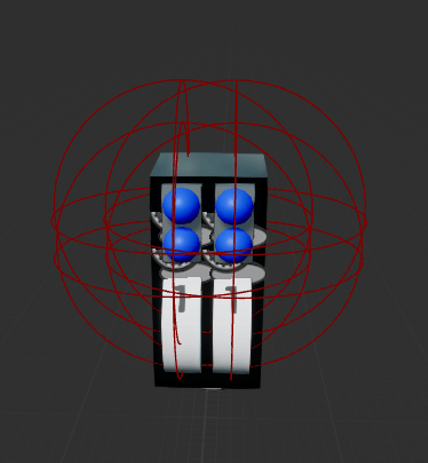
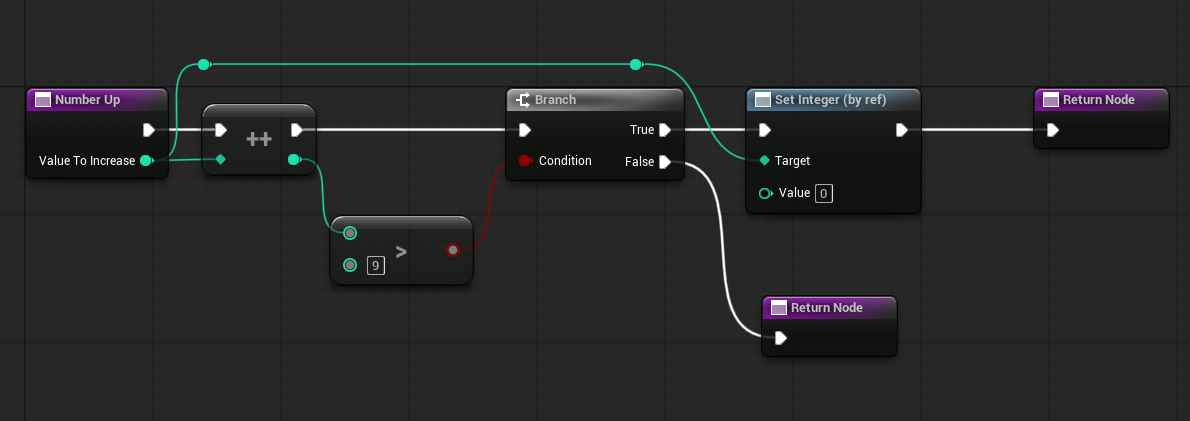
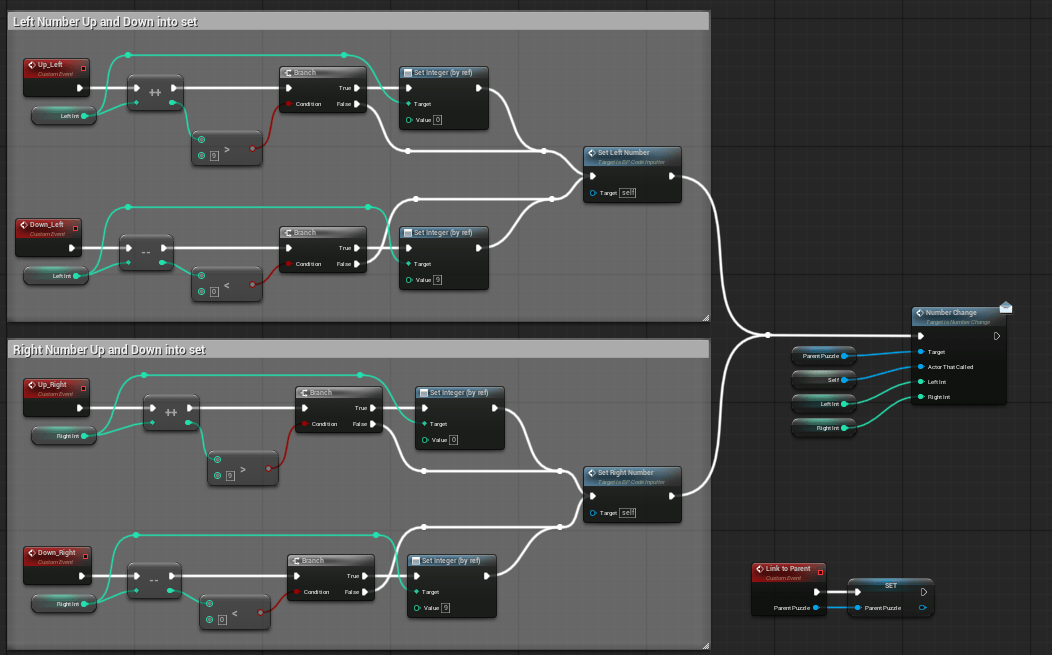
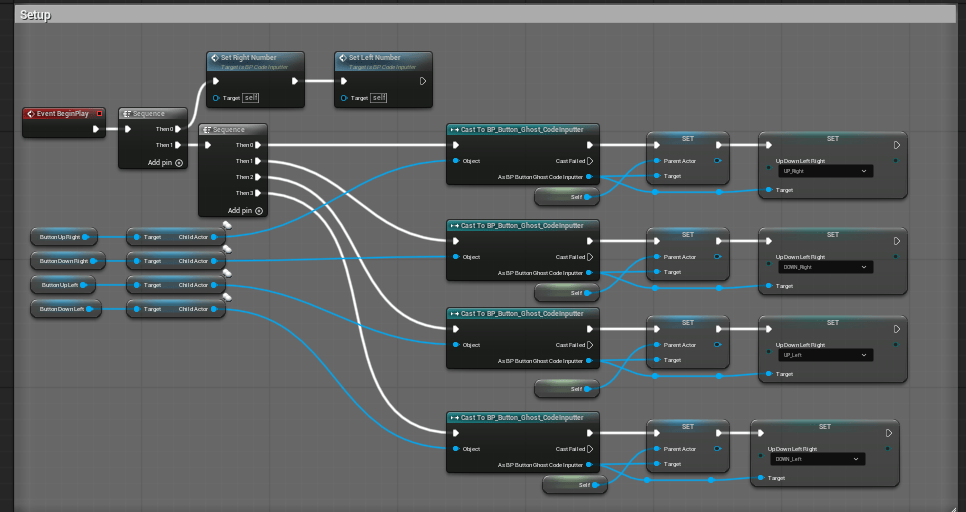
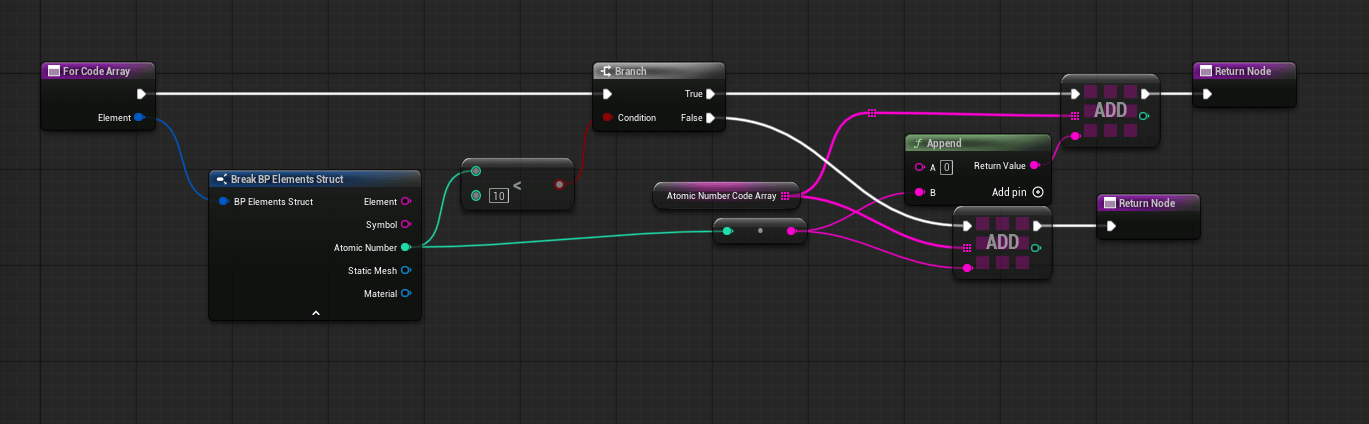
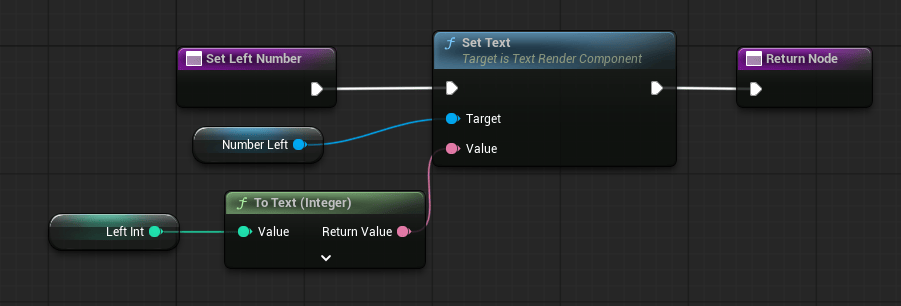
As scripting through this project goes – this periodic table puzzle was the most rushed and unpolished due to time constraints. I think this is one mechanic I would have scoped down for my own personal work load for a cleaner outcome.

Even though rushed and unpolished I must admit I am proud with the amount of random potential and diverse amount of input which can be easily implemented into this puzzle. It’s not limited to elements – even though that was the base of this one.

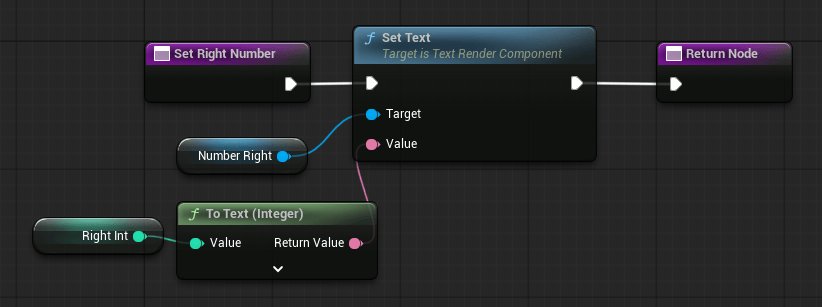
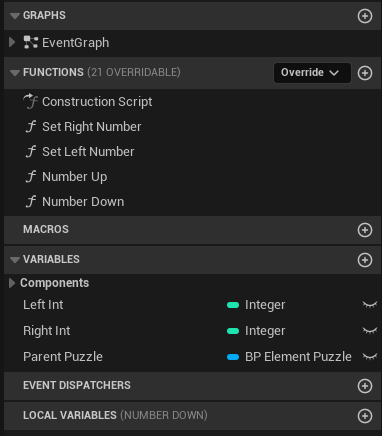
I think the biggest strength of this puzzle is the culmination of a group of blueprints and components put together to create a task. There wasn’t a single outstanding function or script which specifically stood out as much as all the components working together.

Spotlight - Puzzle Composition

Periodic Table Puzzle